One of the few silver linings to Esteban’s terrible surgical misadventure situation was that the complications and healing from that illness inspired him to really ramp up his chef game. He was literally starving and unable to swallow anything thicker than cream of mushroom soup for months and months, so when he finally could swallow softer foods, he threw himself into trying new and complicated recipes and really optimize the experience. I am happy to take second place in the Best Chef In The Bix Household because it means that I get to eat so many noms!
Now that he can eat normally, his culinary adventures have gotten grander. He’ll basically try anything once and we’ve had a great many favorite new meals out of it. For instance, I hate green olives and yet, I love his arroz con pollo! I would never dream of putting cinnamon in a savory braised meat dish but he now discovered not one but two savory meat dishes that have cinnamon in them that I LOVE. And of course, his baking has achieved great heights, from making Tom Collichio’s parkerhouse rolls to his daily “turbo bread” that amounts to a crusty loaf of steaming hot goodness in less than three hours, start to finish.
Since we moved to Las Vegas, there are a good many Wisconsin delights that I can no longer beg, borrow or steal. One of my favorites are the in-house made English Muffins at Blue’s Egg in Milwaukee, which became my favorite escape from the hospital when we were there for 40 plus days. Alas, we are now poor as church mice and I can’t afford to jet off to Milwaukee whenever I get the craving for a spectacular English muffin.
Enter Esteban the Galiant.
He made me English muffins, you guys. From scratch. And I’m going to share with you the recipe! He offered to write up his notes and let me post them here.
Because he started actually taking notes about halfway after he realized that the dough wasn’t a horrific nightmare mistake, there are only photos of the process halfway through, unfortunately. Just imagine a blobby gross ropey pile of goo and that’s what the dough looked like, but trust me, it was worth it. So worth it.
Esteban’s English Muffin Guest Post
This recipe originates from an Englishman. Being American, I had to use what we had. So our equivalent of “strong white flour” is bread flour, in specific King Arthur. But I do enjoy using metric measurements, so no conversion of the weights. As to the “sachet of instant yeast” I buy 1lb bricks of instant Red Star yeast and keep it in an airtight container in the fridge. Before you get all weirded out about how much I bake, here’s the thing, I don’t bake that much. A brick of instant yeast like that is seven bucks. Each of the little three-packs of yeast at the store are two to three dollars each. So fuck that, a brick it is. I buy a new brick every year, pour the rest down my drains, its good for them. For this recipe, I used two teaspoons of the yeast.
Back to the muffins. The first step is to autolyse most of the flour. The liquid didn’t seem to be quite enough, and I ended up trying to incorporate it, but I fear I might have over-worked it. After the 45 minute autolyse, I added the milk (skim for me, all we had) and the rest of the ingredients. It was incredibly difficult to incorporate those ingredients into the autolysed dough. The autolysed dough was ropy and the whole thing was a too-wet mess. I ended dumping it out onto my cutting board, scraping, chopping and mixing it with a bench scraper and what I suspect is a lot more flour. I scraped and kneaded it for around 10 minutes until it wasn’t a mess anymore.
Honestly, at this stage, I wasn’t sure this recipe was going to work out, it had finally come together but I had worked it so much and added so much flour trying to keep it from being a sticky almost batter-like mess that I was sure I screwed it up. Next time, less working the dough if I can manage it, especially for the autolyse.
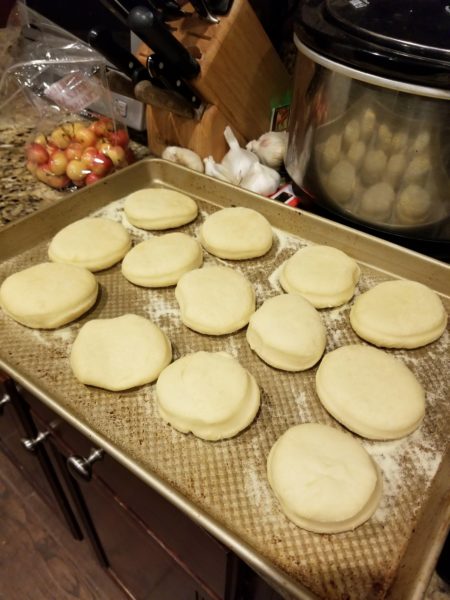
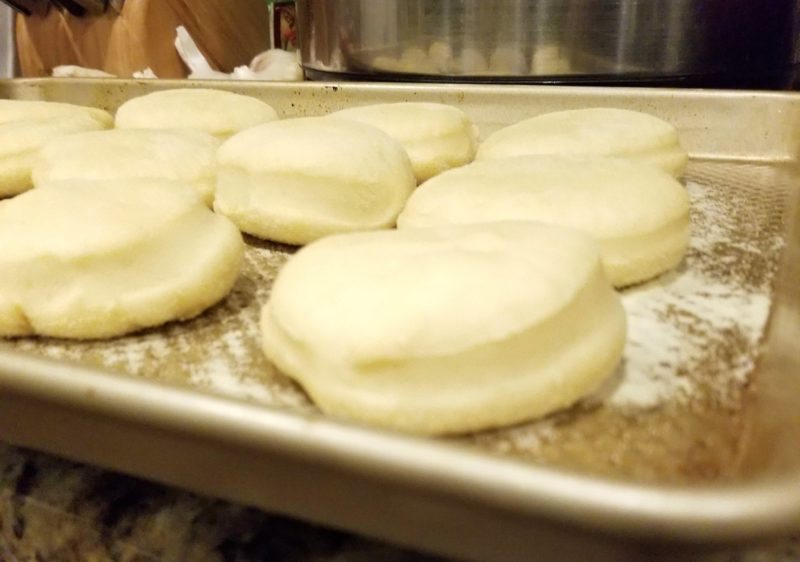
With a hearty “well what the hell, it can’t get any worse” I put it back in the bowl to rise for the prescribed three hours. It ended up being four hours, as dinner intervened. It didn’t rise as much as I wanted, nor was it lovely and pillowy. So I rolled it out and cut them into 13 muffins with the last one a re-roll with the scraps. 45 minutes of proofing, which is 15 minutes longer than the recipe called for, but it was chilly in the kitchen, which meant a longer proof.
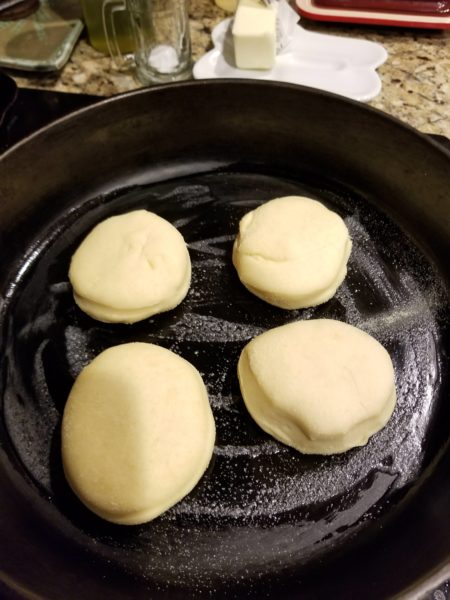
Then on to my trusty cast iron. For this I used my lovely #10 high stylized logo smooth bottom Wagner Ware. I heated it up slowly and applied just a kiss of butter, like I was making pancakes.
This is where the second big learning came. First, on my big gas burner, I was set to #4 (YMMV a great deal on this). I did the first four six minutes on the first side, 5 minutes on the second. This wasn’t quite enough. All subsequent batches were done 6 minutes per side. The first batch, which gets the majority of the kiss of butter in the pan, will not look as good as the subsequent batches, just like the first pancakes aren’t the best ones.
On handing your muffins – Setting them in with your fingers is a no-no. You will see some finger dents in my pictures of the early ones. Put them in the pan, sliding gently with a thin flipping spatula. I turned my first eight with the same spatula, just flipping them over. This lead to a visible loss of fluffiness, as I flipped them like I’d flip a pancake or a hamburger patty and it knocked air out of them. I started gently turning them over with a set of plastic tongs. Then I could control how gently they went back into the pan, leading to fluffier muffins. So slide in gently with a spatula, turn over and remove gently with a set of tongs. The semolina makes all of this easy, although I suspect you can use corn meal if you don’t have semolina.
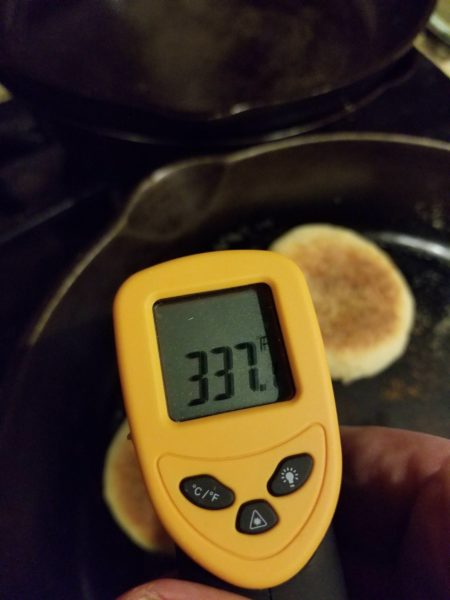
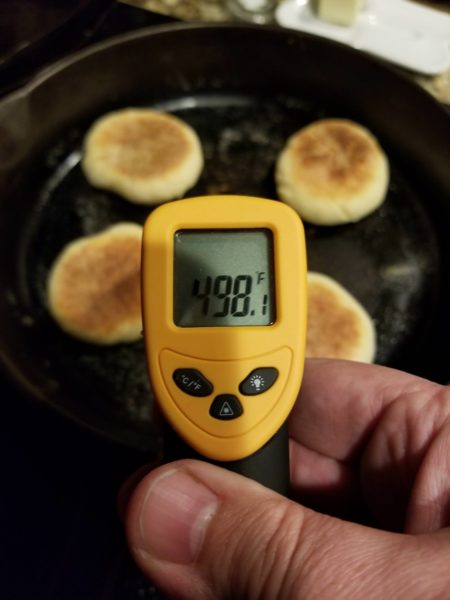
Despite my love of cast iron, it’s not an even heating kind of pan. As you can see in the pictures, I took some surface temperature readings and we are looking for about 350F as the optimal temperature to cook English Muffins (gleaned from other recipes). My pan was nearly 500 in the middle, but very close to what I needed on the outsides. The third batch of four and the last lonely muffin were done on the outside of the pan, leading to better and more even browning. Also, getting a surface temperature reading showed me that I didn’t have the pan well centered, you can see it in the pics.
While this is heresy for a cast iron lover, I suspect a large electric griddle, where you can set the temp to 350 and have a big enough surface to do all or almost all of the muffins at once is the way to go here. At 12 minutes per every 4 muffins in my biggest cast iron, this was a long process for only a dozen muffins. Or a big cast iron griddle too, if you have a infrared gun thermometer like I do so you can see the hot spots and avoid them.
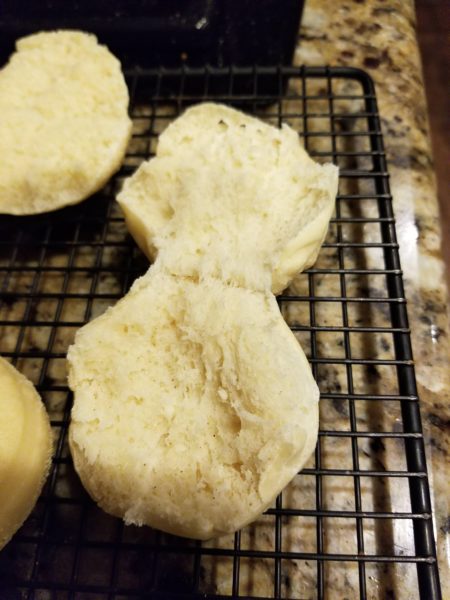
So in the end they turned out. I think that perhaps a touch more salt would be helpful for flavor, but in the end,this was a success, despite the problems with the initial dough.
Homemade English Muffins
- 300g Strong white bread flour (We used King Arthur Bread Flour)
- 6g salt
- 15g butter, softened
- 15g caster sugar,
- Sachet of instant yeast (or 2 teaspoons of instant yeast)
- 180ml Milk (I used whole milk)
- 20ml warm water
- 1 egg, beaten
- Semolina for proofing
First, mix 250g of the flour, and 150ml of the milk together until it combines to a rough dough (and all the flour is wet), autolysing for 45 mins.
After the autolysing stage, add the instant yeast to the remaining milk and warm water and dissolve.
Add the sugar and salt to one side of the rough dough, with the egg.
Next add the butter, the yeast + milk/water, and combine, adding the rest of the flour, until it forms a dough.
Knead it and set in a bowl for 3 hours, for bulk rise.
Once the dough has risen, it should be lovely and stretchy, and glossy almost.
Then roll the dough out to about 2.5cm thick, and cut 8 or 9 muffins (alternatively split the dough into even pieces and shape into muffins), place each muffin on a surface with semolina sprinkled on it.
Turn over (so both sides get some semolina) and then leave for 30 mins to proof.
Heat your cast iron on a low heat, rub some butter in there (but not too much, just to coat the surface initially) and then place 2 or 3 muffins in.
Cook for about 6 mins on each side (though they may take less time) and cool.
Cook in batches, you won’t need to add any more butter.
Split, toast and eat with butter 🙂
All credit to the recipe goes to /u/FatherAustinPurcell and all mistakes or misunderstandings on making it are on me. – Esteban

4 Comments
I know what I’m doing tomorrow.
No cornmeal? I always put cornmeal in English muffins. Dunno grams to cups, but 3.5 cups bread flower to 3/4 cornmeal.
I used to make English muffins. I liked sourdough ones, but I don’t have a starter any more.
I’ve been itching to make english muffins ever since watching the Great British Baking Show and now I am further inspired! And also – so glad you are back!